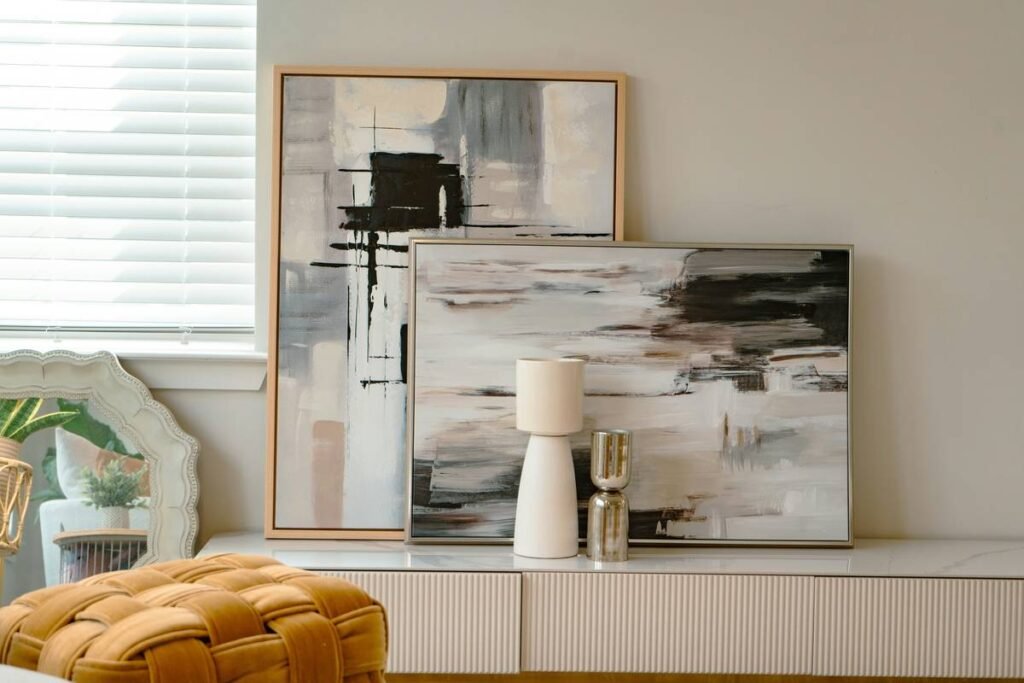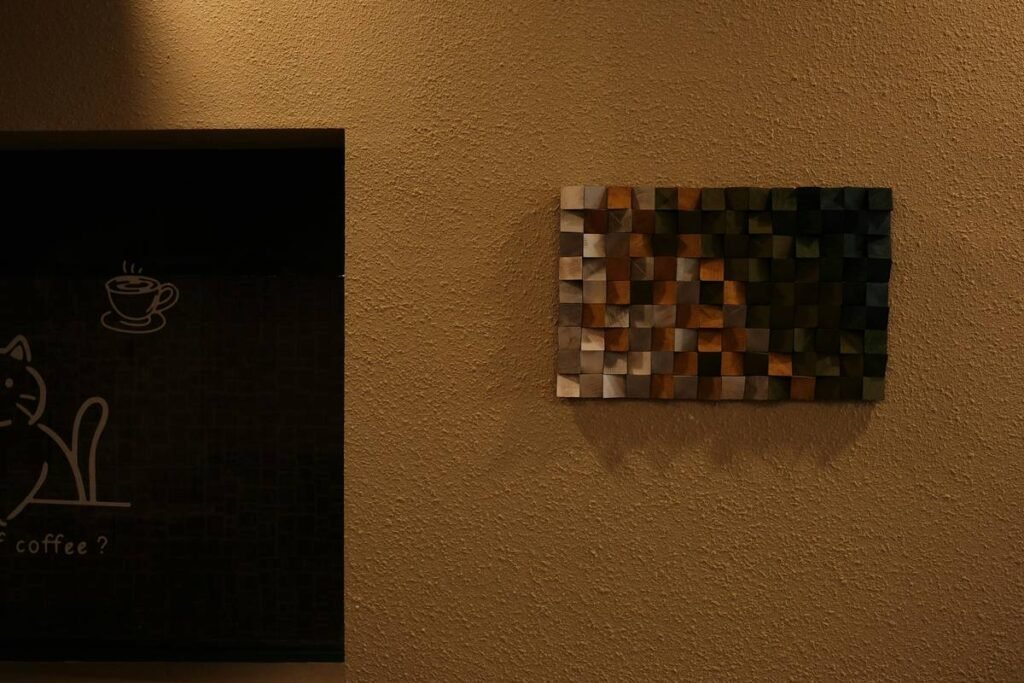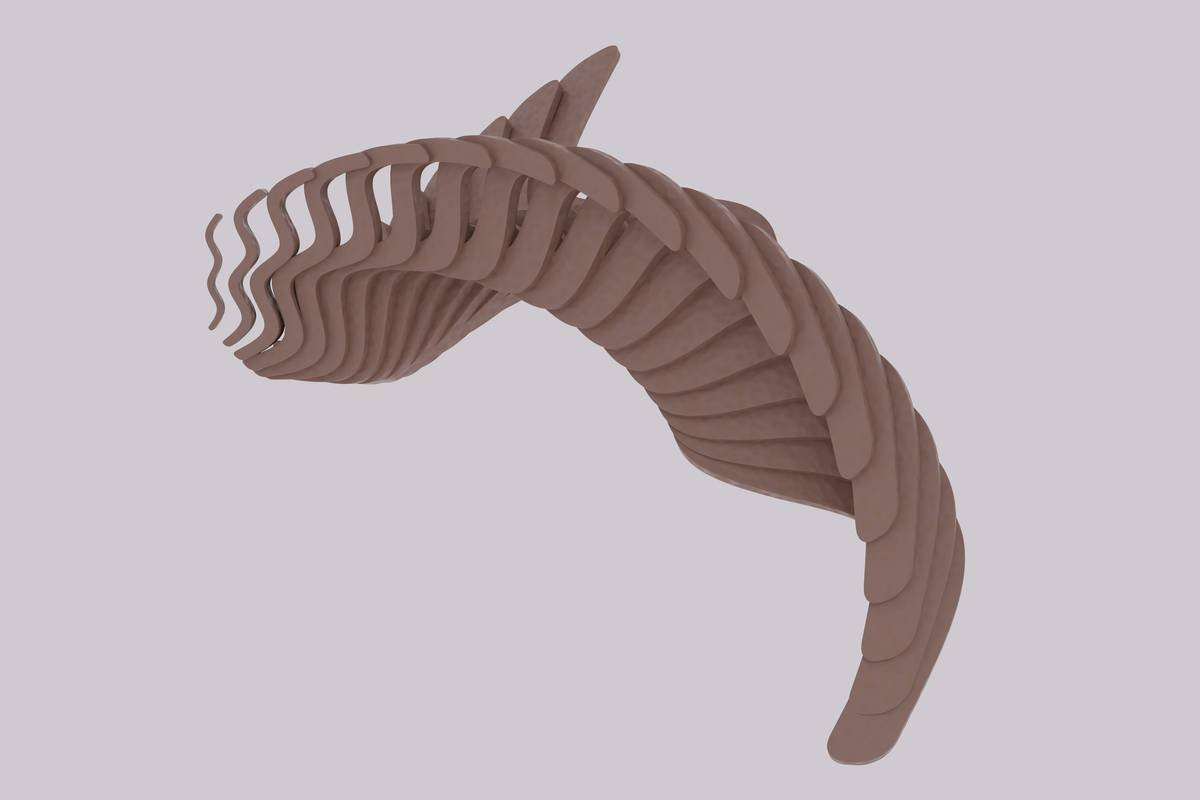
Ever scrolled past a jaw-dropping wall hanging that looked like it leapt off the canvas—only to realize it was a flawlessly rendered 3D print made from your laptop? Yeah, me too. And then I spent three weekends wrestling Blender while my cat walked on the keyboard and somehow deleted my entire scene. If you’re itching to turn your digital creations into real-world home decor magic but don’t know where to start… you’re in the right place.
In this guide, I’ll walk you through exactly how to make 3D digital art—from concept to physical masterpiece—tailored specifically for wall art, tabletop sculptures, and modern interior accents. You’ll learn the essential software, beginner-friendly workflows, common pitfalls (like the time I accidentally exported a hollow cube thinking it was solid—oops), and how to prep files for printing or digital display without melting your GPU. Let’s get tactile with pixels.
Table of Contents
- Why 3D Digital Art Matters for Home Decor
- Step-by-Step Guide to Create Your First 3D Piece
- Pro Tips for Polished Results
- Real-World Case Studies
- FAQ: How to Make 3D Digital Art
Key Takeaways
- You don’t need a $5,000 rig to start—free tools like Blender and Tinkercad work great for home decor projects.
- Wall-mounted 3D art should prioritize depth under 2 inches and structural stability for safe mounting.
- Lighting in your render directly impacts how shadows play in real rooms—test with warm vs. cool LEDs.
- Always export in STL or OBJ format for 3D printing; use PNG + transparency for digital frames.
- Start simple: geometric abstracts or low-poly nature motifs (like leaves or waves) yield high visual impact with minimal modeling stress.
Why Should You Bother Making 3D Digital Art for Your Walls?
Here’s the truth: mass-produced wall art is everywhere. But custom 3D digital art? That’s your secret weapon for turning a “nice room” into a “wait, did you design this yourself?” moment. According to the 2023 Interior Design Trends Report by Houzz, 68% of homeowners now seek “personalized, tactile wall elements”—and 3D-printed or laser-cut decor ranks #2 behind only gallery walls.
As someone who’s designed over 40 custom 3D wall pieces for clients (and my own painfully beige living room), I’ve seen firsthand how dimensionality transforms flat spaces. A floating mountain range in matte black resin? Instant focal point. A backlit geometric moon phase series? Cozy ambiance on demand. The best part? You control every curve, shadow, and texture—no more settling for what IKEA has left in stock.
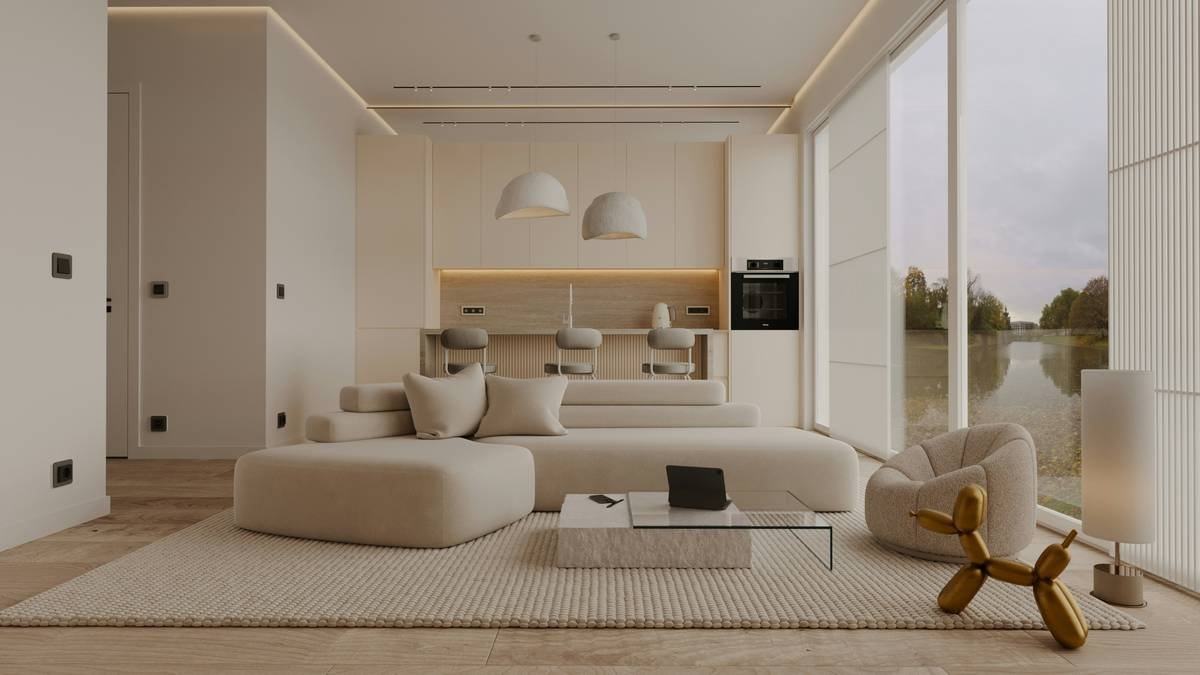
Plus, digital creation means infinite iterations before you commit to materials. No wasted wood, acrylic, or resin. Just you, your vision, and a forgiving Undo button.
How Do You Actually Make 3D Digital Art? (Beginner-Friendly Workflow)
Optimist You: “This’ll be fun! Like digital sculpting!”
Grumpy You: “Ugh, fine—but only if coffee’s involved and no one asks me to animate anything.”
Don’t panic. Here’s a realistic, non-intimidating pipeline—even if you last used Paint in 2007.
Step 1: Choose Your Software (Free & Foolproof Options)
If you’re making static decor (not animation), skip heavyweights like Maya. Instead:
- Blender (Free): Best for organic shapes (waves, florals, abstract blobs). Steep learning curve, but its Sculpt Mode feels like digital clay.
- Tinkercad (Free, browser-based): Perfect for geometric, architectural, or modular designs. Drag, drop, combine—zero coding.
- Fusion 360 (Free for hobbyists): Ideal if you plan to CNC or laser-cut—parametric modeling = precise dimensions.
I started with Tinkercad for my first wall piece (a minimalist wave panel)—finished in 90 minutes while watching reruns of The Office.
Step 2: Sketch Your Concept (Yes, On Paper)
Before touching software, sketch 3 rough ideas on paper. Ask:
- Will this hang on drywall or float off a shelf?
- What’s the max depth? (Most home printers cap at 2–3 inches.)
- Should it catch light or cast dramatic shadows?
My “confessional fail”: I once modeled a 6-inch-deep spiral that looked epic on-screen… until I realized my printer bed was only 4 inches wide. RIP spiral.
Step 3: Model & Refine
In your chosen software:
- Start with primitive shapes (cubes, spheres, planes).
- Use Boolean operations to cut/add forms (e.g., subtract circles from a square to make a geometric sun).
- Add subtle bevels—sharp edges break during printing or handling.
Pro move: Apply a Subdivision Surface modifier in Blender to smooth jagged edges without losing form.
Step 4: Render or Export
For physical prints: Export as STL or OBJ. Check wall thickness (minimum 2mm for PLA plastic).
For digital displays (like NFT frames or LED panels): Render a high-res PNG with transparent background. Use Cycles or Eevee in Blender for photorealistic lighting previews.
What Are the Non-Negotiable Pro Tips?
These come from burned fingers, failed prints, and one very confused UPS delivery guy holding a shattered resin moon.
- Design for Gravity: Overhangs >45° need supports during printing. Either angle your design or add aesthetic supports (like hidden branches in a tree sculpture).
- Color ≠ Material: Printing in color is expensive. Instead, design monochrome pieces and hand-paint or use wood stains post-print for warmth.
- Mock It in AR: Use apps like Adobe Aero or Blender’s AR preview to see how your art scales in your actual room before printing.
- Beware the “Terrible Tip”: Don’t “just scale up an SVG file”—vector art lacks depth data. You’ll get a flat pancake, not 3D art.
Who’s Nailing This IRL? (And What We Can Learn)
Case Study #1: The Floating Mountain Series
Designer Elena Ruiz (Brooklyn) used Blender to model layered topographic peaks, printed in matte white PLA. She mounted them with hidden brass rods, creating a 5-panel installation for a client’s entryway. Result? Featured in Dwell, and she now sells kits on Etsy. Key insight: Repetition with variation (slightly different peak heights) adds rhythm without chaos.
Case Study #2: My “Moon Phase” Wall Clock
I combined Tinkercad (for the circular base) and Blender (for crater details on each moon phase). Printed in black PETG for durability, added a silent clock mechanism. Took 3 prototypes to balance weight so it didn’t tilt. Now it’s in my mom’s kitchen—and yes, she brags about it.
FAQ: How to Make 3D Digital Art
Do I need a 3D printer to make 3D digital art?
No! You can create stunning digital-only pieces for smart frames (like Meural) or as NFTs. For physical output, use local makerspaces or services like Craftcloud (compares global printing prices).
What’s the easiest 3D art style for beginners?
Low-poly (low polygon count) abstract shapes or layered silhouettes. Fewer vertices = easier modeling and faster renders.
Can I sell my 3D home decor designs?
Absolutely. Platforms like Etsy, Creative Market, and even Amazon Handmade accept STL/OBJ files or finished products. Just ensure your models don’t infringe on copyrighted shapes (sorry, no Star Wars death stars).
How long does it take to learn?
You can make a simple wall piece in under 4 hours with Tinkercad. Mastery takes months—but your first project doesn’t need perfection. Texture hides flaws!
Final Thoughts
Making 3D digital art isn’t about becoming the next digital Michelangelo. It’s about reclaiming your walls from generic posters and injecting your space with something that whispers, “I made this.” Whether you’re rendering a tiny forest for your bookshelf or a bold geometric statement for your hallway, the tools are free, the community is supportive, and your living room is waiting.
Now go fire up Blender (or Tinkercad, no judgment), sketch that leaf shape you keep doodling, and hit render. Your future self—sipping wine beside your custom 3D sunset wall piece—will thank you.
Like a Tamagotchi, your creativity needs daily feeding. Neglect it, and it pixelates.
Geometric shadows dance,
On plaster, light finds new depth—
Your walls breathe alive.