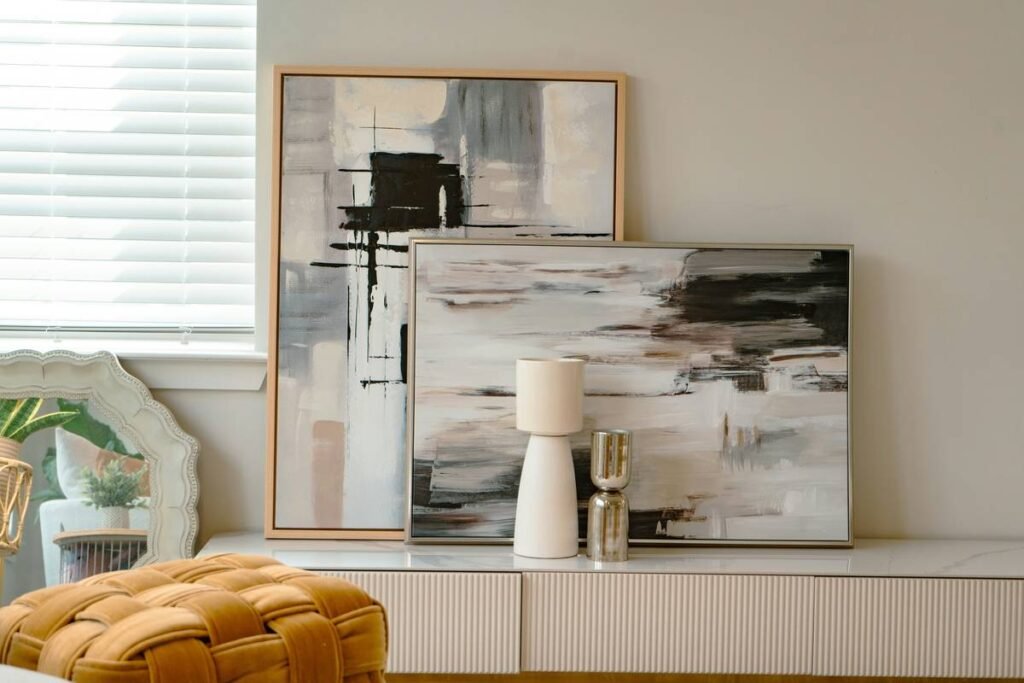
You spent hours scrolling Pinterest. You bought those “easy” 3D wall kits. And yet—your living room still looks flat, lifeless, like every other staged listing on Zillow. Here’s the problem: most so-called 3D art is just foam glued to MDF with zero depth perception or lighting strategy. The solution? Stop treating walls like blank canvases and start engineering spatial illusions that shift with daylight.
Why Most 3D Wall Art Fails (And Makes Your Room Feel Cheaper)
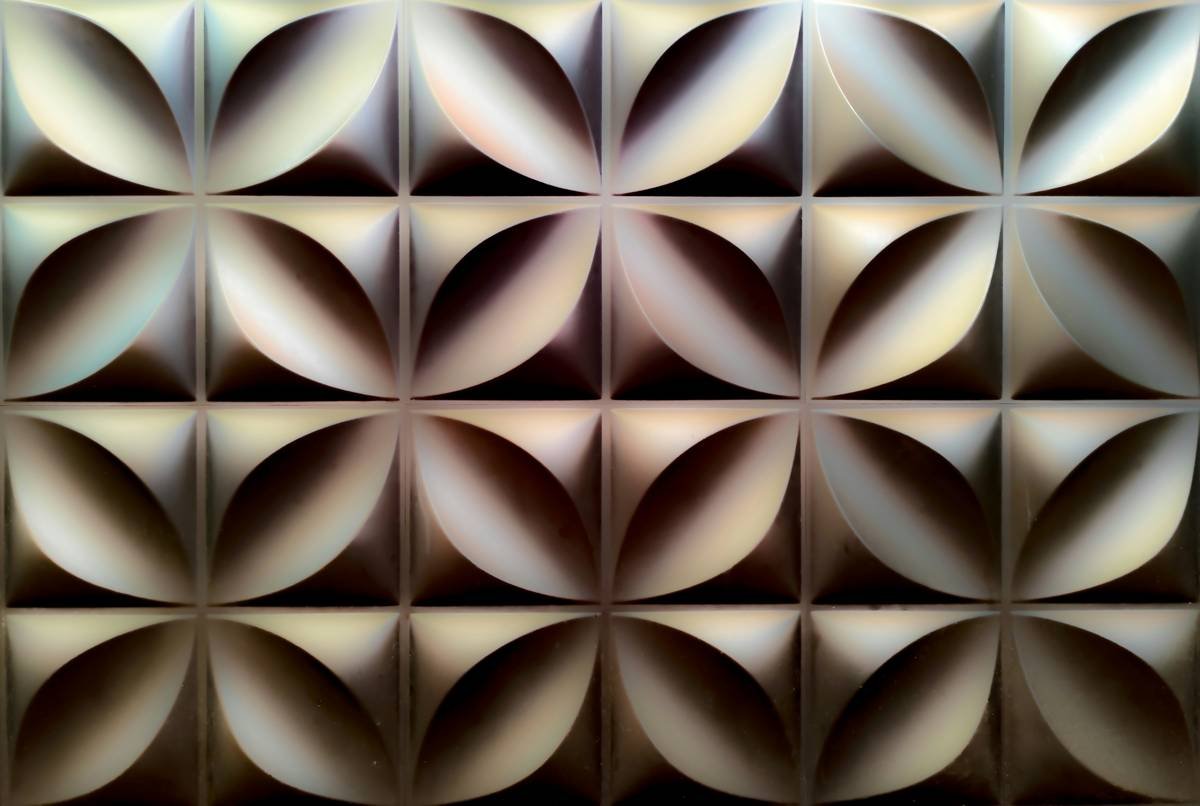
Mass-produced 3D panels rely on repetitive geometry. They scream “decorator shortcut,” not intentionality. Worse—they ignore how light interacts with depth. A shadowless relief under LED track lights? That’s not art. It’s texture wallpaper pretending to be sculpture. And your guests notice—even if they can’t say why.
True dimension demands variation in material thickness, strategic reflectivity, and negative space. Without it, you’re just hanging expensive cardboard.
Step-by-Step Guide to Installing Cool 3D Art Ideas That Wow
Forget peel-and-stick gimmicks. Real impact comes from layering, customization, and understanding your wall’s micro-environment.
Start With Light Mapping
Track where natural light hits your wall between 9 AM and 4 PM. Use your phone’s light meter app. Mark zones with consistent directional light—those are your prime real estate for casting dramatic shadows. No direct sun? Go matte over glossy finishes every time.
Mix Substrates for Tactile Contrast
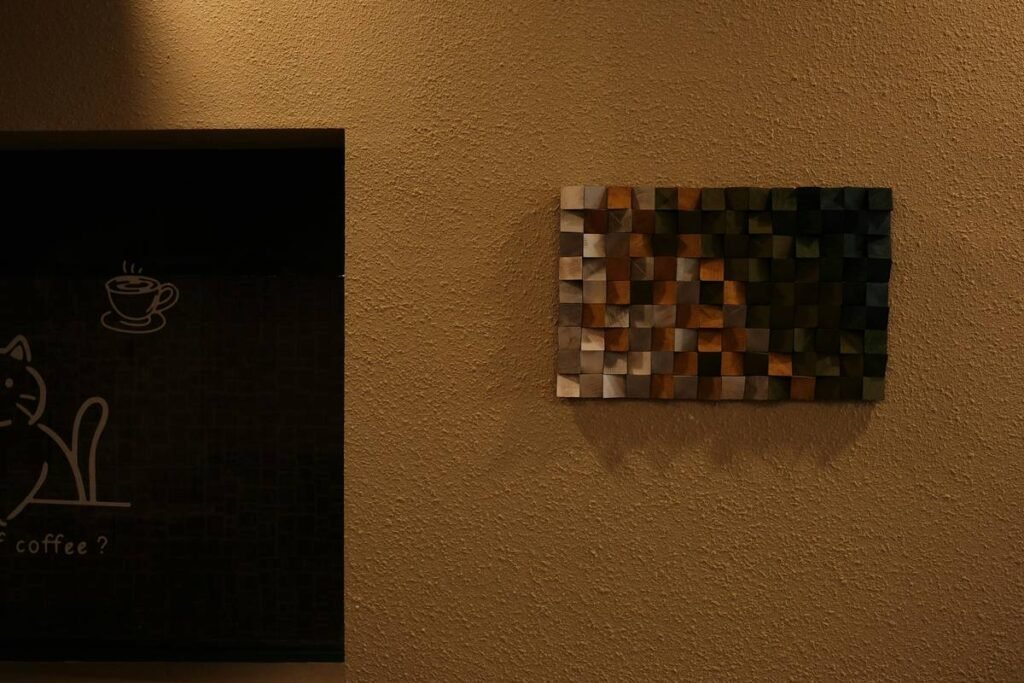
Combine birch plywood (0.5″ thick), laser-cut acrylic (0.25″), and hand-sculpted polymer clay accents. The key isn’t uniformity—it’s controlled chaos. Vary depths by at least 1.5 inches across the composition. This creates parallax as viewers move—critical for perceived depth.
Anchor With a Focal Void
Leave one intentional gap—a negative space shape—that mirrors a functional object in the room (a window frame, a chair back). This subconscious echo tricks the brain into accepting the entire installation as “part of the architecture,” not just decor.
| Method | Material Cost (per sq ft) | Durability | Shadow Complexity |
|---|---|---|---|
| DIY Layered Wood | $8–$14 | ★★★★☆ | High (depth + grain variation) |
| Pre-Made Foam Panels | $5–$9 | ★☆☆☆☆ | Low (uniform surface) |
| Hybrid Acrylic-Wood | $12–$20 | ★★★★★ | Very High (reflective + matte interplay) |
| 3D-Printed Resin | $18–$30 | ★★★☆☆ | Medium (fine detail but flat lighting) |
The Industry Secret: Depth Isn’t Visual—It’s Temporal
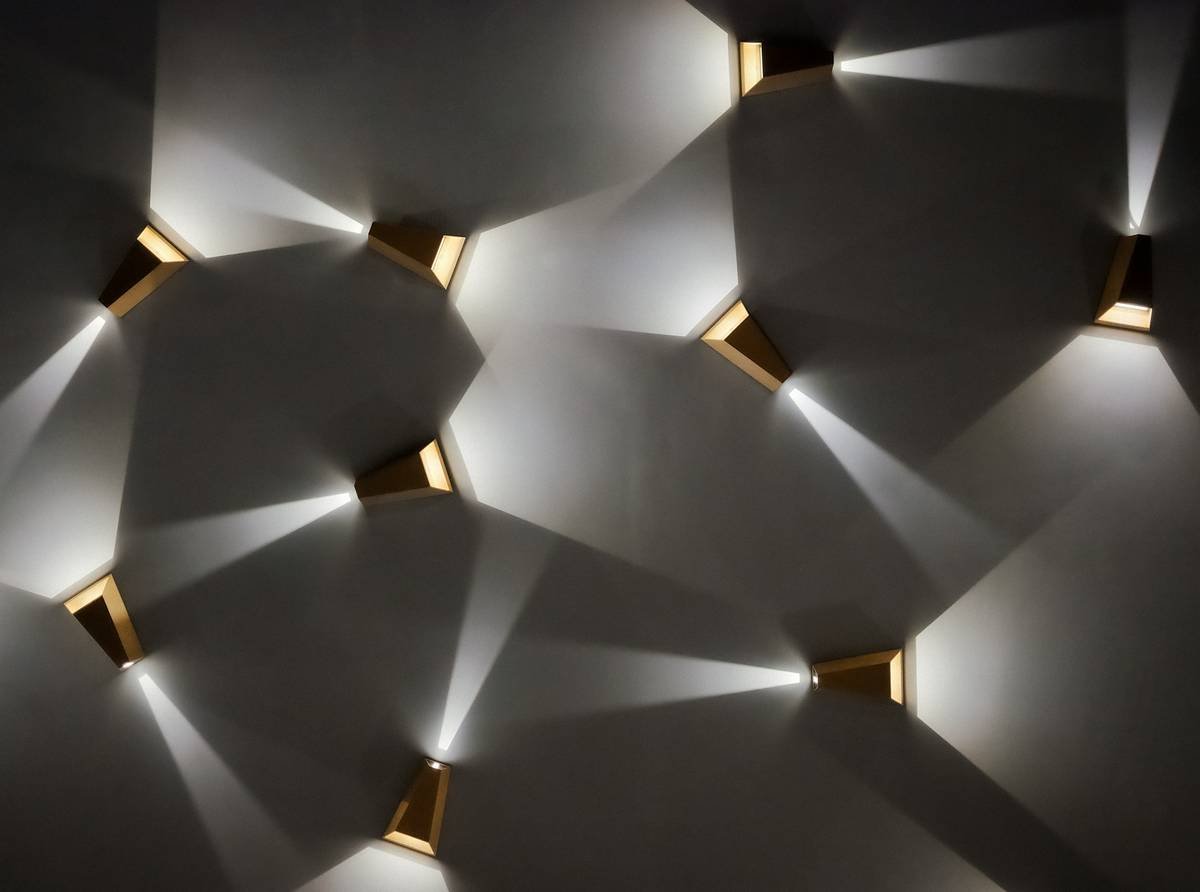
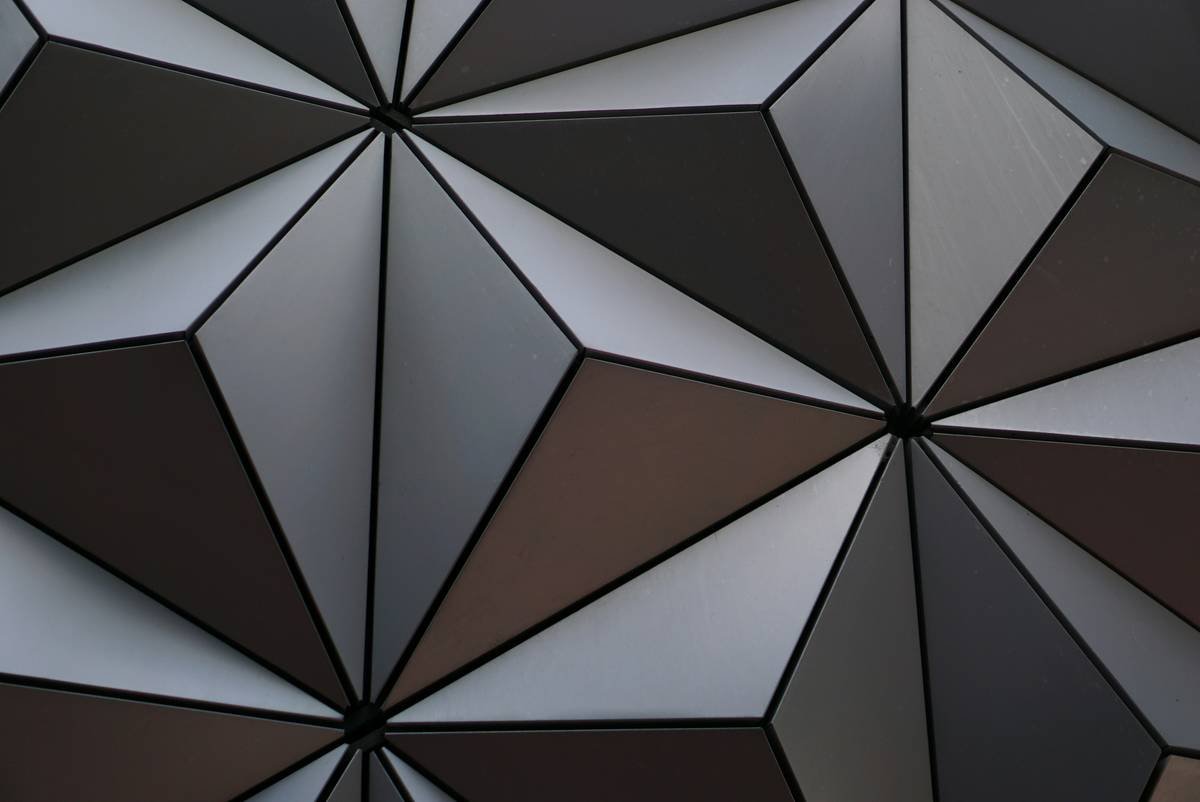
Here’s what no interior designer will admit publicly: 3D art that truly resonates changes throughout the day. At noon, sharp angular shadows dominate. By dusk, soft ambient glow wraps around curves. The magic lives in that transition—not in a static photo. So design for movement. Install your piece where someone walks past it daily. Test mockups at different times. If it looks identical at 8 AM and 8 PM, scrap it. Real cool 3d art ideas aren’t seen—they’re experienced over hours.
FAQ
Q: Can I install 3D wall art in high-humidity rooms like bathrooms?
A: Only if using marine-grade plywood or sealed acrylic. Standard MDF swells and delaminates fast. Avoid porous materials entirely.
Q: How much wall space should 3D art occupy?
A: Aim for 30–40% of the visible wall area. Too small feels decorative; too large overwhelms. Leave breathing room above and beside.
Q: Do cool 3d art ideas work with minimalist interiors?
A: Absolutely—if you limit palette to 2 materials and 1 shadow tone. Minimalism thrives on restrained dimension, not flatness.