Most DIY home decor art ends up in the garage—ignored, dusty, or worse, regifted. You follow Pinterest tutorials, spend $80 on supplies, and still get a flat, lifeless piece that screams “I tried.” Home decor art how to make shouldn’t feel like guesswork. There’s a better way—one rooted in depth, texture, and spatial storytelling that turns blank walls into conversation starters.
Why 95% of DIY 3D Art Projects Fail (And Look Cheap)
They chase trends, not principles. Layering foam board with glitter paint isn’t 3D—it’s collage with delusions of grandeur. Real dimensional art uses shadow, scale, and negative space to trick the eye. Most tutorials skip this entirely. They hand you glue guns and cardboard, then act surprised when your “sculpture” looks like recycled trash. And honestly—that’s what happens when you ignore substrate integrity and focal hierarchy.
Home Decor Art How to Make: A Step-by-Step System for Beginners
Forget random assemblages. Build like an architect—with intention. Here’s how professionals structure entry-level 3D wall art without expensive tools.
Choose Your Base Material Strategically
Basswood, MDF, or high-density foam? Each behaves differently. Basswood holds fine detail but splinters easily. Foam cuts cleanly—but warps in humidity. Your climate matters more than your aesthetic. Seriously.
Layer with Purpose—Not Just for Looks
Every added plane must create shadow or highlight. If a layer doesn’t cast a visible shadow under ambient light, remove it. Depth isn’t about quantity—it’s about contrast.
Finish for Mood, Not Match
Your art shouldn’t “match” your sofa. It should contrast it emotionally. Matte black against warm oak? Yes. Weathered white over navy walls? Absolutely. Harmony comes from tension—not tone-on-tone safety.
| Method | Startup Cost | Time Required | Professional Finish? |
|---|---|---|---|
| Hand-Cut Foam Layers | $20–$40 | 3–5 hours | Moderate (edges need sealing) |
| Laser-Cut Wood Kit | $75–$120 | 2–3 hours | High (precise alignment) |
| Resin + Found Objects | $50–$90 | 6–12 hours (cure time) | Variable (depends on object choice) |
| Modular 3D Printed Tiles | $100+ (printer access) | 4+ hours (design + print) | Very High (custom geometry) |
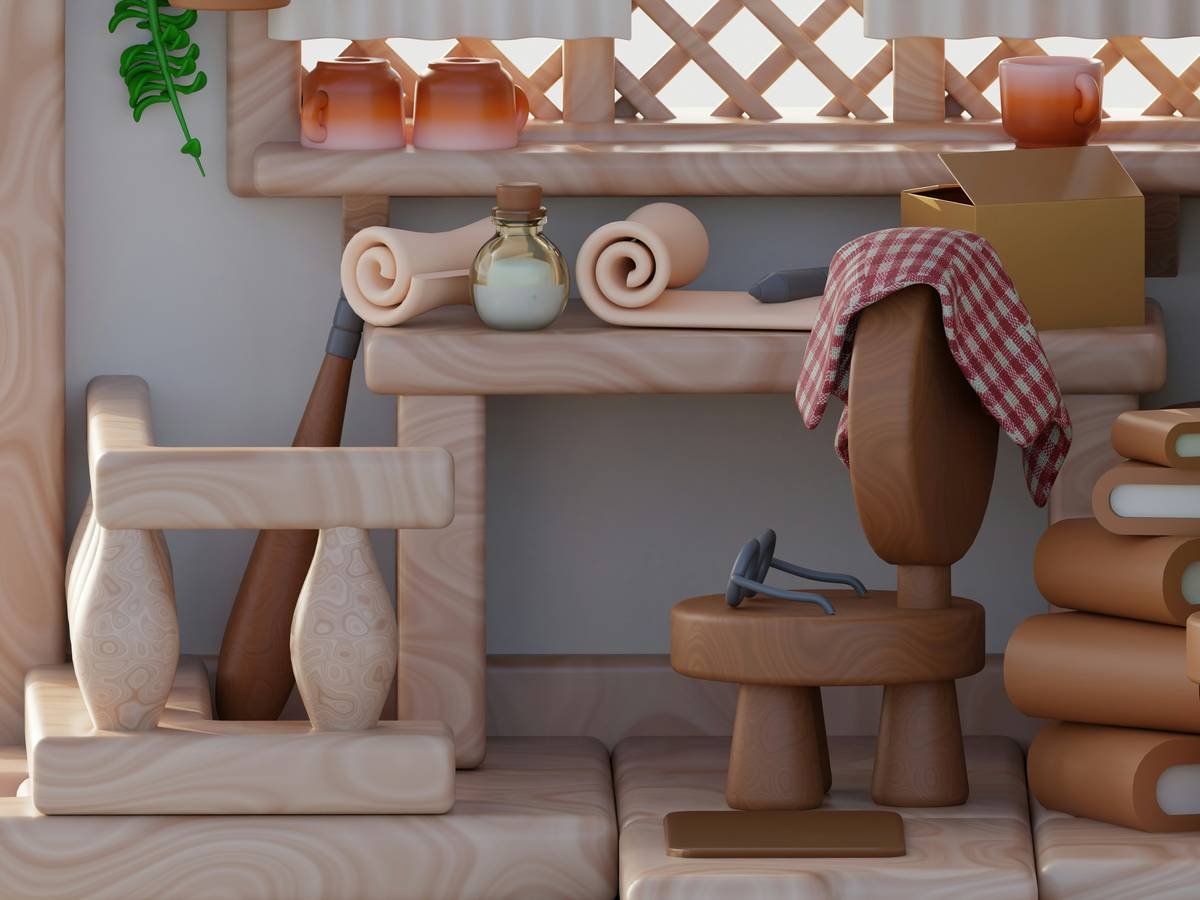
The Industry Secret: Design Backwards From the Shadow
Top interior staging firms don’t start with shapes—they start with light angles. Place your mock-up under your actual room lighting first. Observe where shadows fall at 3 PM and 8 PM. Then build layers that enhance those patterns. This flips the script: instead of fighting your space, you collaborate with it. One designer in Austin increased client sales by 40% just by pre-mapping shadow zones before cutting a single piece. The math is simple—emotion lives in the dark corners, not the bright centers.
Frequently Asked Questions
What’s the easiest 3D home decor art for beginners?
Start with stacked foam core sheets cut in concentric shapes. Paint edges matte black. Mount with hidden spacers. Instant depth with minimal tools.
Can I make 3D wall art without power tools?
Absolutely. Use craft knives, sandpaper blocks, and strong double-sided mounting tape. Precision beats power every time in small-scale work.
How do I keep 3D art from looking cluttered?
Limit your palette to two materials and three planes max. Clutter isn’t about items—it’s about competing visual weights. Edit ruthlessly.