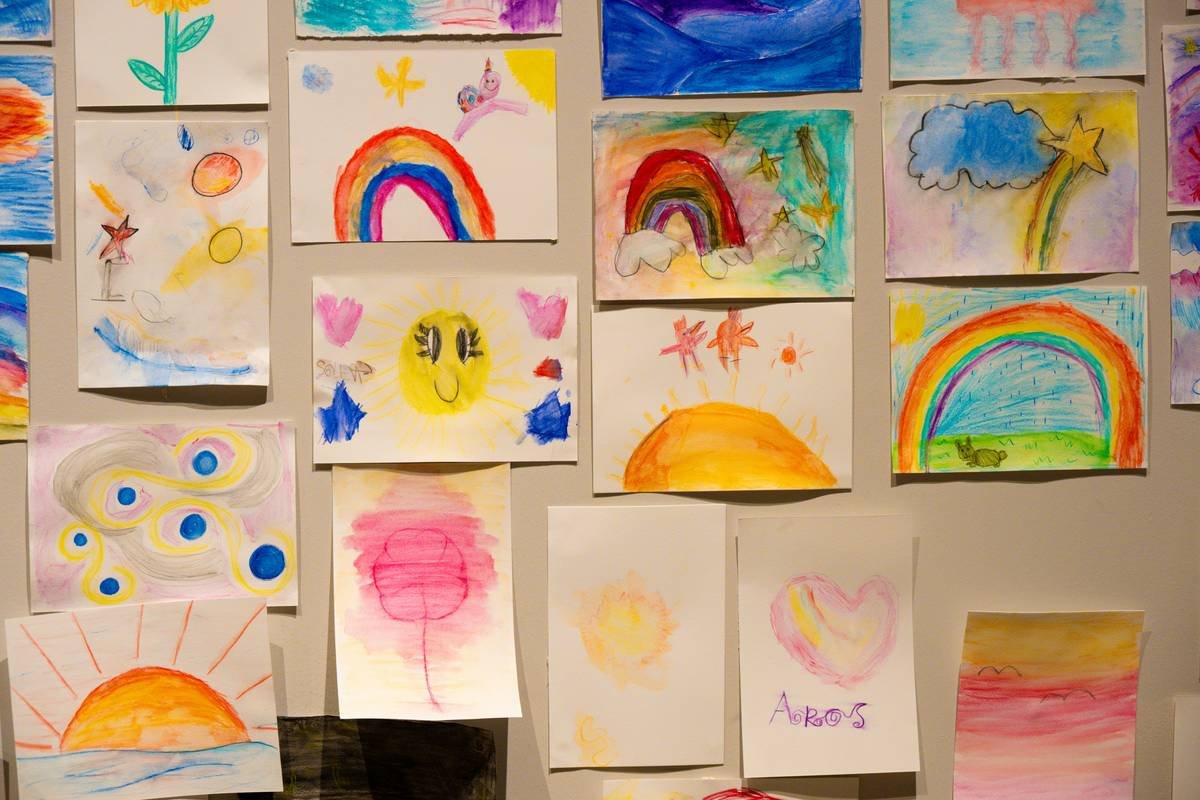
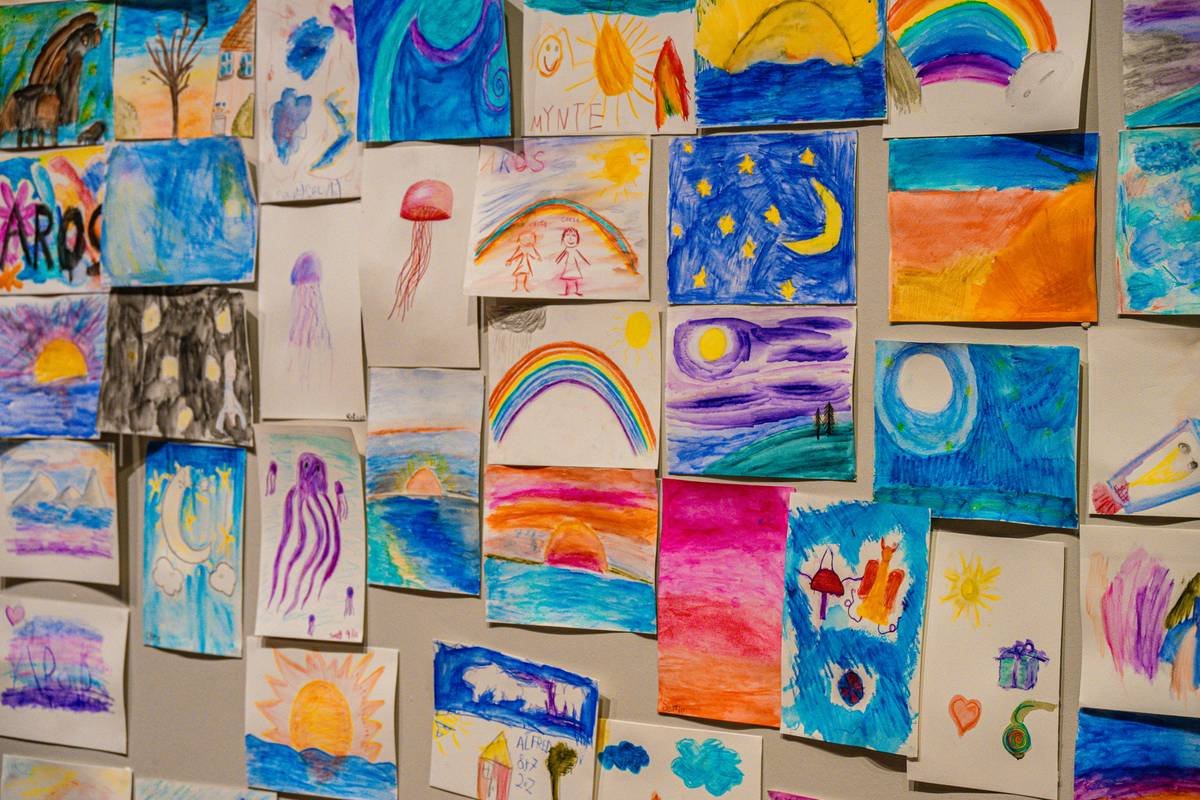
Kids make wild, wonderful, lopsided masterpieces—and then they vanish under couch cushions or get tossed in recycling. You want their art seen, not stored. But traditional display methods? They flatten dimensionality, stifle experimentation, and scream “museum,” not “imagination.” The solution isn’t another fridge magnet strip—it’s designing a dynamic, interactive art display for kids that honors the chaos of creation.
Why Most Kid Art Displays Fail Miserably
Most parents default to corkboards, clipboards, or command-hook gallery walls. Clean? Sure. But they treat 3D paper sculptures like flat drawings. A folded dragon with wings mid-flap? Smashed against drywall. A clay volcano erupting pom-poms? Leaning sideways, shedding debris. These systems assume art is finished—when for kids, it’s alive.
And worse—they discourage iteration. Once pinned, kids rarely touch their work again. The moment becomes archival, not exploratory. That kills momentum. What if your display invited tinkering?
Build a Living 3D Art Display for Kids (Step-by-Step)
Forget static frames. Go kinetic. Here’s how to build a modular, reconfigurable zone that grows with your child’s evolving skills—using cheap, accessible parts.
Step 1: Choose Your “Stage” Type
Not all displays suit all media. Paper collages need tension; clay needs depth; fabric hangs need airflow. Match your base to the dominant medium—then adapt as needed.
Step 2: Install Modular Mounts
Ditch nails. Use removable grid panels (like Pegboard or IKEA SKÅDIS) painted in neutral tones. They accept hooks, clips, shelves, and even mini clotheslines. Reposition weekly based on what’s new.
Step 3: Rotate, Don’t Archive
Set a “featured piece” slot. Every Friday, your kid picks what goes front-and-center. The rest gets boxed—but only for two weeks. Then it’s eligible for revival. Scarcity breeds pride.
| Display Method | Best For | Cost (USD) | Rewatch Value |
|---|---|---|---|
| Magnetic Grid Wall | Paper, foil, lightweight 3D | $25–$45 | High (easy swaps) |
| Adjustable Shelf Ledge | Clay, wood, mixed-media | $18–$30 | Medium (requires setup) |
| Hanging Mobile Frame | Suspended sculptures, origami | $12–$22 | Very High (360° view) |
| Fridge Clip Strip | Flat drawings only | $5–$10 | Low (no depth support) |
The Industry Secret: Borrow from Theater Lighting
Here’s what no parenting blog tells you: lighting makes or breaks perception. A $7 LED puck light angled from below casts dramatic shadows on a papier-mâché moon—turning “messy” into “majestic.” Museums do this. So should you.
But don’t overdo it. One directional light source per display zone. Let texture emerge naturally. And let your child control the switch. Ownership = engagement. Suddenly, they’re not just making art—they’re curating an experience.
Think about it: when light hits a folded paper crane just right, it glows. That awe? That’s the hook that keeps them creating.
FAQ
How do I display messy or fragile kid art without breaking it?
Use clear acrylic risers or repurpose egg cartons as custom cradles. Never glue—use museum putty or soft silicone grips.
Where’s the best spot in the house for a kid art display?
Near natural light but away from high-traffic zones. Hallways or bedroom door backs work better than living rooms—less pressure, more freedom.
Can toddlers use these 3D display systems safely?
Yes—with supervision. Opt for low-mounted grids under 3 feet tall and avoid small magnets. Focus on clip-and-hang systems with oversized hooks.