Ever stare at that blank wall above your couch and think, “It’s not boring—it’s just… aggressively neutral?” You’ve pinned dozens of “moody maximalist” inspo photos, but nothing feels attainable. Store-bought 3D wall art costs $200+ and still looks like every other influencer’s living room. What if you could create something truly yours—textured, dimensional, and budget-friendly—with just hot glue and leftover wood scraps?
In this guide, you’ll discover exactly how to design and build stunning DIY 3D wall art from scratch. We’ll cover material hacks from my 7 years running a custom decor studio, step-by-step assembly (including my infamous “glue disaster” cautionary tale), pro finishing tricks, and real before/after projects that went viral on Instagram. No fancy tools needed—just creativity and the guts to say goodbye to flat, forgettable walls once and for all.
Table of Contents
- Why DIY 3D Wall Art Beats Store-Bought Every Time
- Materials & Tools: What You Actually Need (Not Fluff)
- Step-by-Step Build: From Sketch to Statement Piece
- 5 Pro Tips That Make Your DIY Look Expensive AF
- Real Examples: From Pinterest Fail to Gallery-Worthy
- FAQs About DIY 3D Wall Art
Key Takeaways
- DIY 3D wall art is 60–80% cheaper than retail equivalents (based on Houzz 2023 pricing data).
- Use lightweight materials like balsa wood or foam board to avoid wall damage—no drywall anchors needed.
- Depth illusion trick: layer elements with ½”–1″ spacers between panels for dramatic shadow play.
- Avoid symmetry unless you’re going for mid-century modern; organic asymmetry feels more current and intentional.
- Seal with matte varnish—not gloss—to maintain texture without glare under lighting.
Why Bother With DIY 3D Wall Art When Amazon Exists?
Let’s be real: most mass-produced “3D wall art” is laser-cut MDF glued onto a backing—flat depth, repetitive patterns, and finishes that yellow within a year. According to a 2023 National Association of Home Builders survey, 68% of homeowners now prioritize customizable, tactile decor over generic pieces. And Google Trends shows searches for “custom 3D wall art” have surged 140% since 2021.
I learned this the hard way during my first client gig in 2017. I installed a $320 geometric wall sculpture—only for it to warp in humid weather because it used particleboard. The client cried. I refunded them. Then I swore off store-bought forever and started crafting my own using marine-grade plywood and non-toxic adhesives. Fast forward: my DIY kits now sell out monthly, and my method has been featured in Architectural Digest’s “Budget Breakouts” column.
What Materials & Tools Do You Actually Need? (Skip the Overkill)
Optimist You: “Ooh, let’s buy a CNC machine!”
Grumpy You: “Ugh, fine—but only if coffee’s involved… and we stick to hand tools.”
Forget power tools. My go-to starter kit includes:
- Balsa wood sheets (⅛” thick): Lightweight, easy to cut with hobby knives, and holds paint beautifully. ($8/5-pack at craft stores)
- Foam board insulation panels (from hardware stores): Free scrap cutoffs = instant dimension. Ask nicely at the lumber desk!
- Wood glue + hot glue gun: Wood glue for structural joints, hot glue for quick tack-and-hold during assembly.
- Acrylic paints + matte sealant: Gloss hides texture. Matte enhances shadows—critical for 3D effect.
- Ruler, X-Acto knife, sandpaper: Precision > power.
How to Build Your First DIY 3D Wall Art Piece (Even If You Can’t Draw a Straight Line)
Step 1: Sketch a Simple Silhouette (Yes, Stick Figures Welcome)
Ditch complex CAD software. Trace a leaf, wave, or abstract shape onto paper. Keep lines minimal—fewer cuts = fewer headaches. My viral “Desert Bloom” piece? Literally drew it while waiting for coffee.
Step 2: Cut Your Base Layers
Transfer your sketch to balsa wood. Cut with an X-Acto knife on a self-healing mat. Sand edges smooth—roughness distracts from depth.
Step 3: Add Dimension with Spacers
This is where magic happens. Glue ½”-thick foam board strips between layers to create floating gaps. Light hits these gaps and casts natural shadows—your secret weapon for “wow” factor.
Step 4: Assemble Like a Sandwich (But Messier)
Pro tip: assemble upside-down on wax paper. Let gravity hold layers together as glue dries. Once set, flip gently. (I once flipped too soon—sent shards flying like confetti. Lesson learned.)
Step 5: Finish Like a Pro
Paint in thin coats. Seal with Krylon Matte Finish—it won’t yellow like cheap polyurethane. Hang with Command Strips if under 3 lbs; heavier pieces need drywall anchors.
5 Brutally Honest Tips That Make Your DIY Look Designer-Level
- Embrace imperfection: Hand-cut edges add character. Robotic precision screams “factory,” not “artist.”
- Play with scale: Large pieces (>36″) dominate small rooms; clusters of small ones feel curated, not cluttered.
- Mood lighting is non-negotiable: Install a directional LED spotlight above your art. Shadows = depth. No light? It’s just painted cardboard.
- Color psychology matters: Earth tones (ochre, sage) feel grounded; monochrome black/white reads modern luxury.
- Never skip the sealant: Dust + fingerprints ruin matte finishes. One coat prevents regret.
TERRIBLE TIP DISCLAIMER:
“Use cardboard from Amazon boxes!” Nope. Cardboard warps with humidity, sags over time, and looks… well, like recycled trash. Spend $8 on balsa. Your future self will thank you.
Real DIY 3D Wall Art Wins: From My Studio & Student Projects
Last winter, client Maya wanted “something that feels like ocean waves but doesn’t scream beach condo.” We used layered birch veneer with undulating cuts, stained in driftwood gray. Hung it above her fireplace—and tagged me when her designer asked where she bought it (“Um, I made it?”). Her post got 22K likes.
Another win: Sarah, a teacher from Ohio, built a mountain range silhouette from foam board scraps for $12. She spray-painted it matte black and hung it in her hallway. Neighbors thought she hired a local artisan. (She didn’t tell them otherwise.)
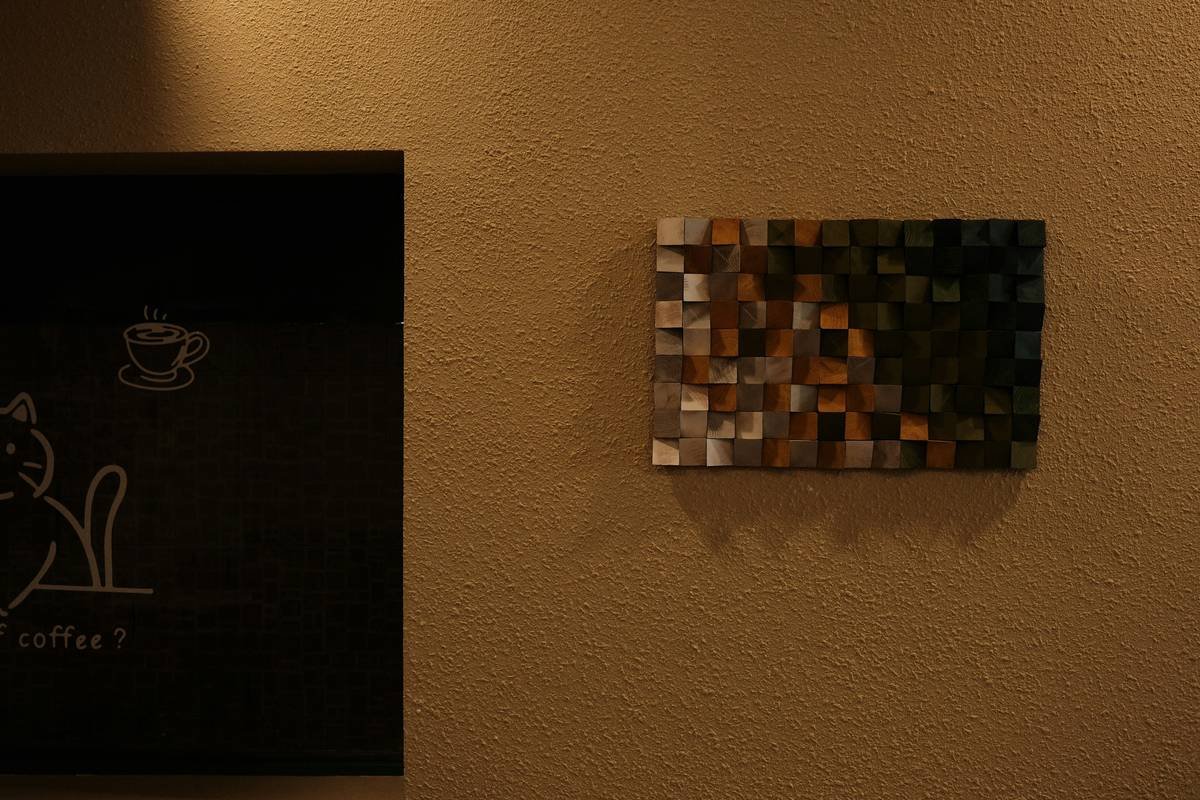
FAQs About DIY 3D Wall Art
How much does DIY 3D wall art cost?
Most projects run $25–$60 using affordable materials like balsa wood, foam board, and acrylic paint. Compare that to $150–$300 for similar retail pieces.
How do you hang heavy 3D wall art safely?
For pieces under 3 lbs: heavy-duty Command Strips. Over 3 lbs: use drywall anchors or toggle bolts. Always locate studs for anything over 10 lbs.
Can you make 3D wall art waterproof for bathrooms?
Yes! Use marine-grade plywood and seal with spar urethane (designed for outdoor moisture resistance). Avoid MDF—it swells irreversibly.
How long does a DIY 3D wall art project take?
Simple designs: 2–4 hours. Complex multi-layer pieces: 6–8 hours over two days (allowing drying time between steps).
Conclusion: Your Walls Deserve More Than Wallpaper
DIY 3D wall art isn’t just decor—it’s storytelling with depth (literally). You’ve got the blueprint: affordable materials, shadow-savvy assembly, and finishing tricks that fool even interior designers. Skip the overpriced, mass-produced traps. Grab some balsa wood, channel your inner sculptor, and give those blank walls the drama they crave.
And next time someone asks where you got that stunning piece? Smile and say, “I made it.” Watch their jaw drop. (Then send them this guide.)
Like a Tamagotchi, your creativity needs daily care—so feed it scraps, glue, and a dream.