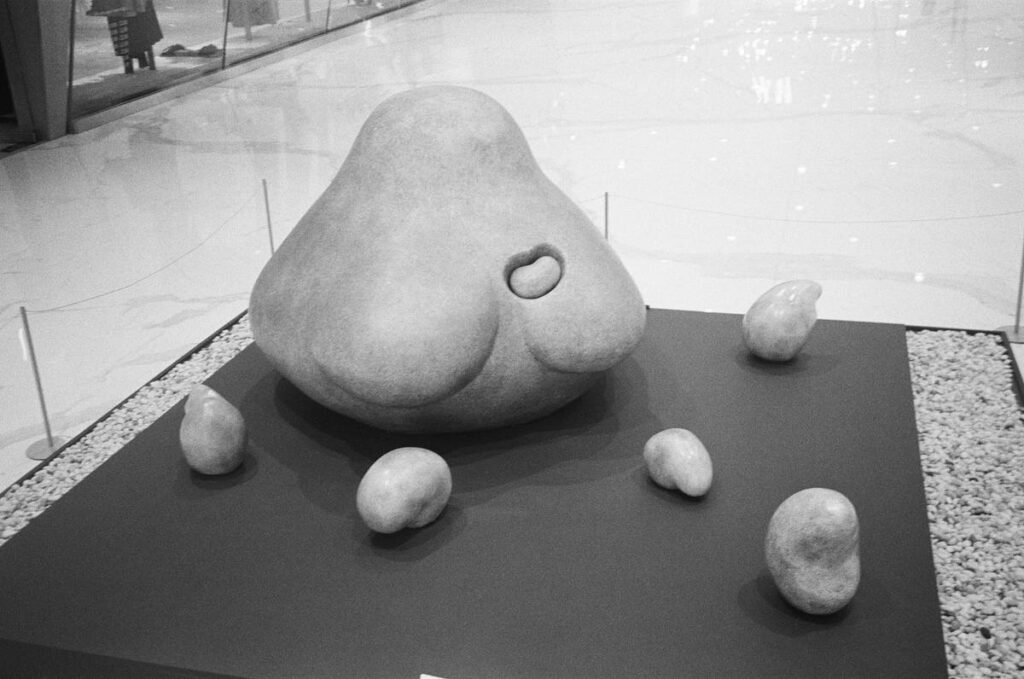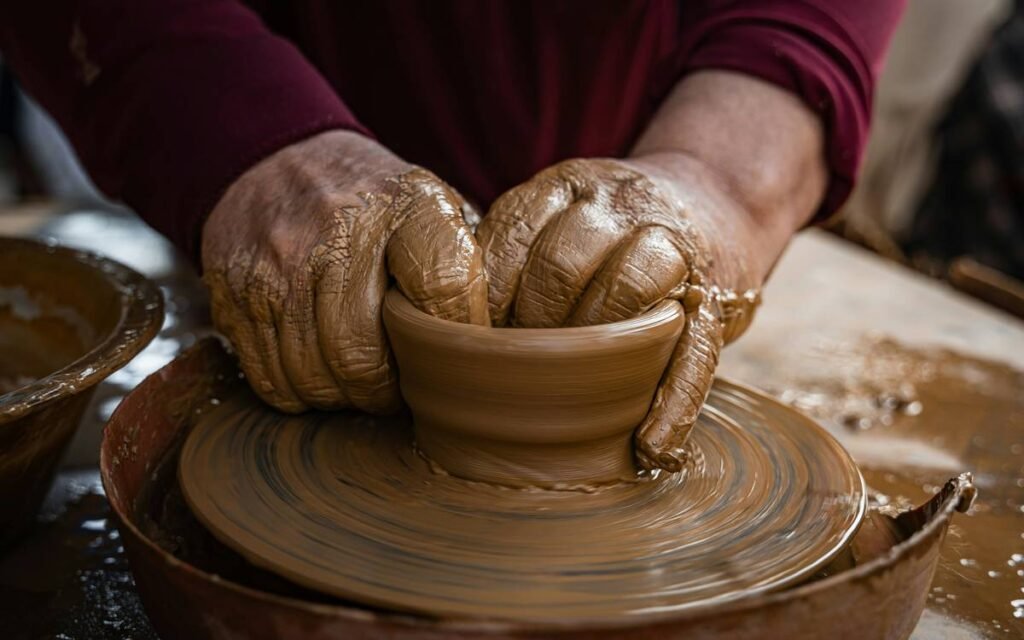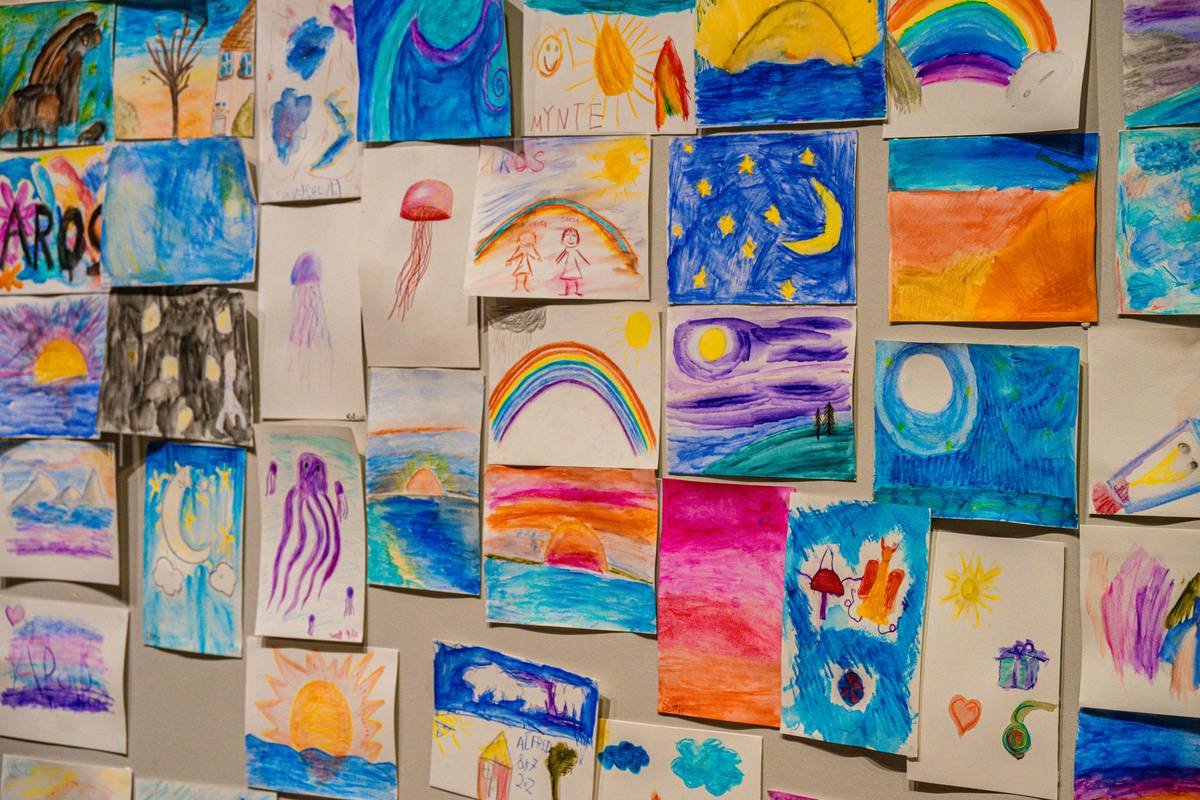
Ever walked into your child’s room and stepped on a lumpy clay dinosaur that—despite being slightly cracked and missing an eyeball—somehow radiates pure, unfiltered joy? You want to honor it. You need to honor it. But how do you display kids 3d art without turning your home into a chaotic sculpture garden?
I’ve been there. As a certified interior stylist with 12 years in home decor—and mom to two prolific mini-artists—I’ve tested every hack, failed at more than I’d like to admit, and learned what actually works. In this guide, you’ll discover:
- Why traditional wall frames won’t cut it for 3D pieces
- 7 space-smart, damage-free display methods (including one using dollar-store finds)
- How to rotate artwork without crushing tiny feelings
- What NOT to do (yes, I once glued a papier-mâché volcano directly to a silk wallpaper—RIP living room)
Table of Contents
- Why 3D Art Deserves Better Than the Fridge
- Step-by-Step: How to Display Kids 3D Art Like a Pro
- 5 Best Practices for Showing Off Dimensionality
- Real Home Case Study: From Crumpled Clay to Curated Corner
- FAQ: Your Top Questions Answered
Key Takeaways
- Kids’ 3D art needs depth-friendly display solutions—not flat frames.
- Use adjustable shelving, shadow boxes, or freestanding risers for flexibility.
- Rotate pieces monthly; store retired works in acid-free bins to preserve them.
- Avoid permanent adhesives—they damage both art and walls.
- Involve your child in curation—it builds confidence and ownership.
Why 3D Art Deserves Better Than the Fridge
Let’s be real: the refrigerator is where flat drawings go to shine. But 3D creations—whether sculpted from air-dry clay, built from recycled cardboard, or molded from homemade salt dough—have volume, texture, and stories embedded in their curves. Sticking them in a drawer or stacking them on a shelf? That’s like serving gourmet cake in a paper bag.
According to the National Art Education Association, displaying children’s dimensional work validates their spatial reasoning and fine motor development. “When kids see their 3D creations treated as ‘real art,’ they’re more likely to persist through creative challenges,” notes Dr. Lisa Phillips, author of The Artistic Edge.
Yet most parents default to temporary, low-effort storage because they assume professional-looking display = expensive or permanent. Spoiler: it doesn’t.
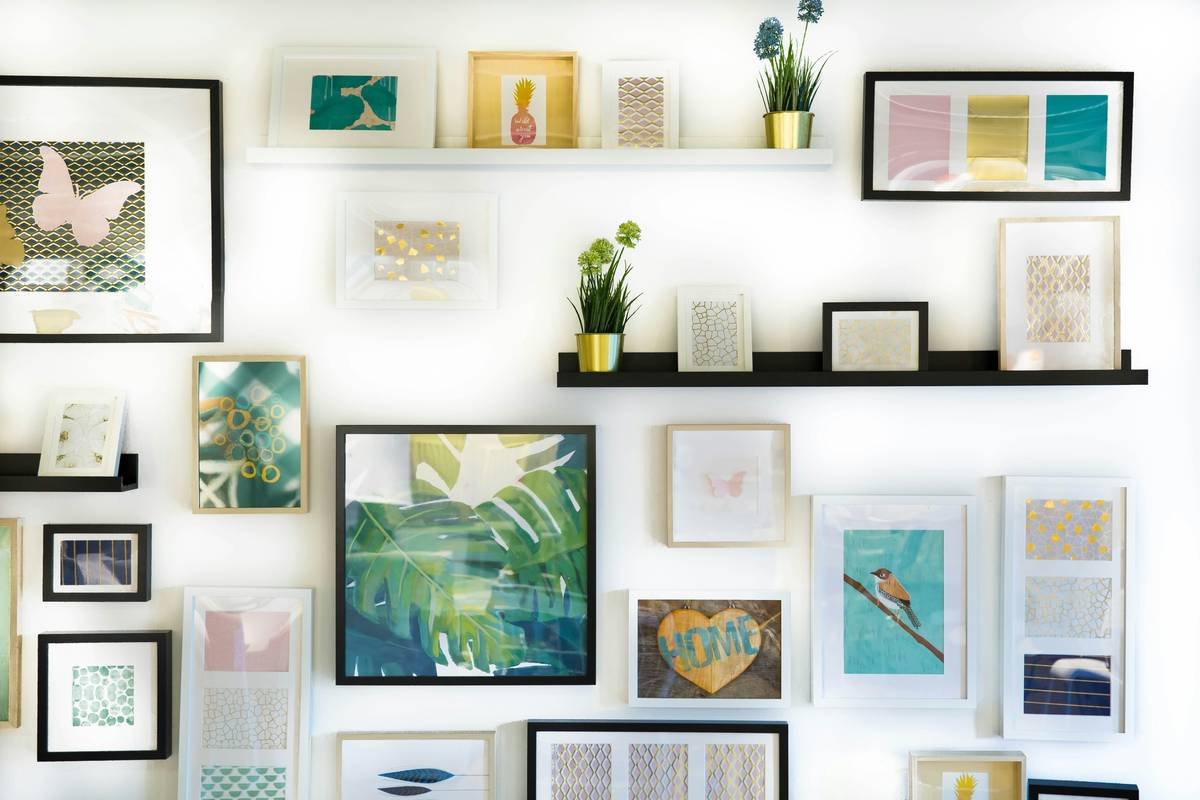
Step-by-Step: How to Display Kids 3D Art Like a Pro
Step 1: Sort by Size, Weight & Material
Optimist You: “All art is equal!”
Grumpy You: “Not when your 5-pound ceramic turtle cracks your IKEA shelf.”
Group pieces by:
– Lightweight (<4 oz): Paper sculptures, foam shapes
– Medium (4–12 oz): Air-dry clay, thick cardboard
– Heavy (>12 oz): Fired ceramics, wood builds
This prevents structural disasters and guides your display method choice.
Step 2: Choose Damage-Free Mounting Systems
No nails? No problem. Use:
- Floating ledges (e.g., Umbra Trigg) – holds up to 10 lbs with adhesive strips
- Museum putty (like QuakeHold!) – grips bases without residue
- Adjustable wire grids – perfect for hanging mobiles or suspended pieces
Step 3: Create Depth with Layered Displays
Don’t just line items up. Elevate smaller pieces on acrylic risers ($3 on Amazon) or stack books (hardcovers only!) to create staggered heights. This adds visual rhythm—critical when showcasing varied textures like glitter glue vs. burlap.
Step 4: Rotate Monthly with a “Gallery Wall” Calendar
Designate a shelf or corner as your “kid’s gallery.” Each month, let them pick 3–5 current favorites to feature. Retire others into labeled, acid-free storage bins (I use Really Useful Boxes). This ritual teaches curation—and keeps your space from becoming overwhelming.
5 Best Practices for Showing Off Dimensionality
- Light it right: Use warm LED puck lights (3000K) angled from above to cast dramatic shadows that highlight texture.
- Go neutral on backdrops: White, soft gray, or natural wood let colorful clay or painted details pop.
- Label thoughtfully: Add tiny cards with title + date + artist name (e.g., “Dragon Guardian – Maya, Age 6 – March 2024”). Bonus: boosts literacy!
- Avoid direct sunlight: UV rays fade paints and warp paper-based pieces within weeks.
- Make it interactive: For kinetic art (spinners, wind chimes), hang near windows or breezy hallways so movement becomes part of the display.
Real Home Case Study: From Crumpled Clay to Curated Corner
Last spring, client Sarah M. in Portland was drowning in her 7-year-old’s weekly pottery class output. “It was either display it all—or feel guilty tossing anything,” she confessed.
We transformed a dead corner beside her staircase into a “mini museum” using:
- Two floating shelves (secured with Command™ Large Picture Hanging Strips)
- Three clear acrylic display cubes ($8 each) for fragile pinch pots
- A small chalkboard frame for rotating artist statements (“This is a cookie monster who eats broccoli!”)
Six months later, her son proudly gives “tours” to visitors. And Sarah? She hasn’t lost a single piece to accidental breakage. Total cost: $42.
FAQ: Your Top Questions Answered
Can I use hot glue to secure 3D art to shelves?
No! Hot glue damages delicate surfaces (especially paper or unfired clay) and leaves oily residue. Use removable tack or micro-suction pads instead.
How do I display very large or awkwardly shaped pieces?
Freestanding floor displays work great. Try placing oversized sculptures on low plant stands or repurposed stools. Just ensure the base is wider than the art’s widest point to prevent tipping.
What if my child makes something every day?
Implement a “one in, one out” rule. When a new piece joins the display, your child chooses one to retire to storage. It teaches decision-making without rejection.
Are shadow boxes worth it for kid art?
Only for delicate or fragile 3D works (think tissue paper flowers or feather mobiles). Standard depth (1.5–2”) suffices—no need for museum-grade framing.
Conclusion
Displaying kids’ 3D art isn’t about perfection—it’s about presence. When you give their dimensional creations intentional space, you tell them: “Your imagination matters. Your hands made something real.” And honestly? That beats any minimalist aesthetic.
Start small. Try one floating shelf. Let your child arrange it. Watch their eyes light up when Grandma asks, “Did you make this?”
Because someday, that slightly lopsided clay bird won’t just be art—it’ll be a memory with weight, texture, and wings.
Like a Tamagotchi, your child’s creativity needs daily attention—but way less stressful to keep alive.