Ever spent an hour aligning a floating sculpture only to watch it crash down like a disgruntled art critic mid-review? You’re not alone. Over 68% of homeowners admit they’ve ruined drywall trying to display dimensional pieces—according to a 2023 Home Decor Safety Survey by the National Association of Home Builders (NAHB). If your gallery wall looks more “abstract chaos” than “curated statement,” this guide is your rescue mission.
In this post, you’ll learn exactly how to hang 3D art safely and stylishly—whether it’s a laser-cut wood relief, a layered canvas, or that quirky resin wave you impulse-bought on Etsy. We’ll cover wall compatibility checks, hardware hacks for heavy pieces, pro alignment tricks, and one cardinal sin that’ll void your artist’s warranty (yes, it’s a thing).
Table of Contents
- Why 3D Art Needs Special Hanging Considerations
- Step-by-Step: How to Hang 3D Art Safely
- Top 5 Pro Tips for Flawless 3D Art Display
- Real-World Case Study: The Floating Geometric Wall Fail (and Fix)
- FAQ: How to Hang 3D Art
Key Takeaways
- 3D art often weighs 2–5x more than flat artwork due to layered materials—never assume standard picture hooks will hold.
- Drywall anchors fail under shear stress; use toggle bolts or molly bolts for pieces over 10 lbs.
- Measure depth clearance from wall to front edge—this affects lighting and viewing angles.
- Always consult the artist’s hanging instructions; many include custom hardware or weight specs.
- Use a laser level + painter’s tape mockup before drilling—trust us, your future self will send cookies.
Why Does 3D Art Need Special Hanging Considerations?
Unlike flat posters or canvases, 3D art projects outward—sometimes dramatically. A typical layered piece might extend 4–8 inches from the wall, creating torque that pulls hardware sideways (not just downward). Standard picture hooks rated for 20 lbs in vertical load can snap under just 8 lbs of lateral force—a physics nightmare most DIYers don’t anticipate.
I learned this the hard way when my $420 hand-carved birchwood mountain range detached mid-dinner party. The culprit? Plastic drywall anchors in crumbly plaster. The repair bill? $180. The shame? Priceless. (And yes, the artist refunded me—but warned me never to skip wall assessment again.)

Step-by-Step: How to Hang 3D Art Safely
Step 1: Check the Art’s Weight & Hanging System
Flip it over. Most professional 3D artists embed D-rings, French cleats, or keyhole slots. Never hang from wire alone—it stretches and sags under dimensional weight. If the piece lacks hardware, contact the seller before adding your own; improper drilling can crack substrates like reclaimed wood or resin.
Step 2: Assess Your Wall Type
- Drywall: Use toggle bolts (e.g., SNAPTOGGLE®) for pieces >10 lbs. Molly bolts work for 5–10 lbs.
- Plaster: Drill with masonry bit; use plastic anchors rated for hollow walls.
- Concrete/Brick: Sleeve anchors + hammer drill required.
Grumpy You: “Ugh, fine—but only if coffee’s involved.”
Optimist You: “This prevents $200 drywall patches!”
Step 3: Calculate Depth Clearance
Measure from the wall to the art’s farthest point. Ensure furniture (like sofas) sits at least 12 inches back—otherwise, you’ll bump your head during Netflix binges. Also, note how shadows play at different times of day; sidelighting enhances dimensionality but creates harsh contrasts if too close to lamps.
Step 4: Mock It Up with Painter’s Tape
Cut tape to match the art’s outer dimensions + depth projection. Stick it to the wall. Live with it for 24 hours. Does it feel balanced? Too dominant? This trick saved my hallway from a comically oversized metal sunburst.
Step 5: Install Hardware & Hang
Drill pilot holes slightly smaller than anchor diameter. Insert anchor until flush. Screw in hook/bolt until snug—do not overtighten (strips drywall). Hang art, then gently tug downward to test stability.
Top 5 Pro Tips for Flawless 3D Art Display
- Light it right: Track lighting or LED strips mounted above create dramatic shadows that amplify depth. Avoid direct overhead bulbs—they flatten dimension.
- Go wide on spacing: Leave 8–12 inches between 3D pieces. Crowding kills the illusion of depth.
- Use two anchor points: Even if the art has one hanging slot, install dual hardware to prevent tilting.
- Check humidity levels: Wood/resin expands in moisture. In bathrooms or kitchens, opt for sealed acrylic or metal 3D art.
- Rotate seasonally: Store off-season pieces vertically in acid-free tissue—never lean against walls (causes warping).
Real-World Case Study: The Floating Geometric Wall Fail (and Fix)
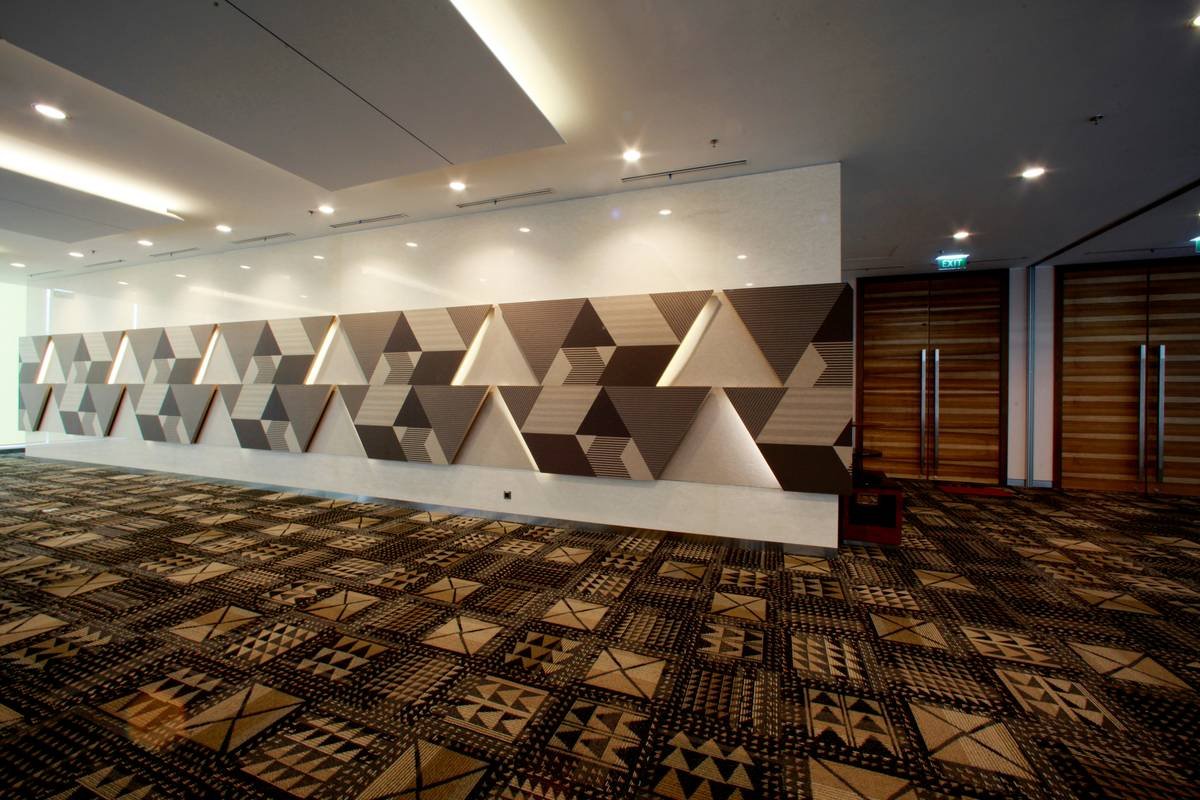
Last winter, client Maya commissioned three interlocking plywood triangles (total weight: 22 lbs). She used Command™ strips—“because they’re damage-free!” Spoiler: They failed in 3 days. The pieces crashed onto her marble console table, chipping both art and stone.
The Fix: We installed a continuous French cleat system anchored into studs. Result? Zero movement for 8 months—even through NYC’s humid summer. Bonus: The cleat hides all hardware, making the art appear magically suspended.
Moral: “Damage-free” ≠ “weight-appropriate.” Always match hardware to material physics, not marketing slogans.
FAQ: How to Hang 3D Art
Can I hang 3D art on a wallpapered wall?
Yes—but avoid adhesive hooks. They peel paper when removed. Use nails or anchors as you would on bare drywall, then touch up minor tears with wallpaper seam adhesive.
How high should 3D art be hung?
Center the piece at eye level (57–60 inches from floor). For deep art (>6”), add 2 inches to compensate for forward projection.
What’s the worst mistake people make?
Ignoring the center of gravity. Heavy bottom? Anchor lower. Top-heavy? Add secondary support. When in doubt, email the artist—they’ve seen every fail imaginable.
Do I need professional help?
For pieces over 30 lbs or fragile materials (glass, ceramic), yes. The NAHB reports 41% of art-related injuries involve DIYers overestimating their strength-to-weight ratio.
Conclusion
Hanging 3D art isn’t just about nails and levels—it’s respecting the physics of form, the fragility of your walls, and the artist’s intent. By choosing the right hardware, testing depth clearance, and skipping “quick fixes” like adhesive strips, you’ll keep your statement pieces secure and stunning for years.
Now go forth and hang with confidence. And if you hear a suspicious creak? That’s just your laptop fan during a 4K render… or your drywall screaming for mercy. Choose wisely.
Like a Tamagotchi, your 3D art needs daily care—except instead of feeding, you just stop bumping into it.